
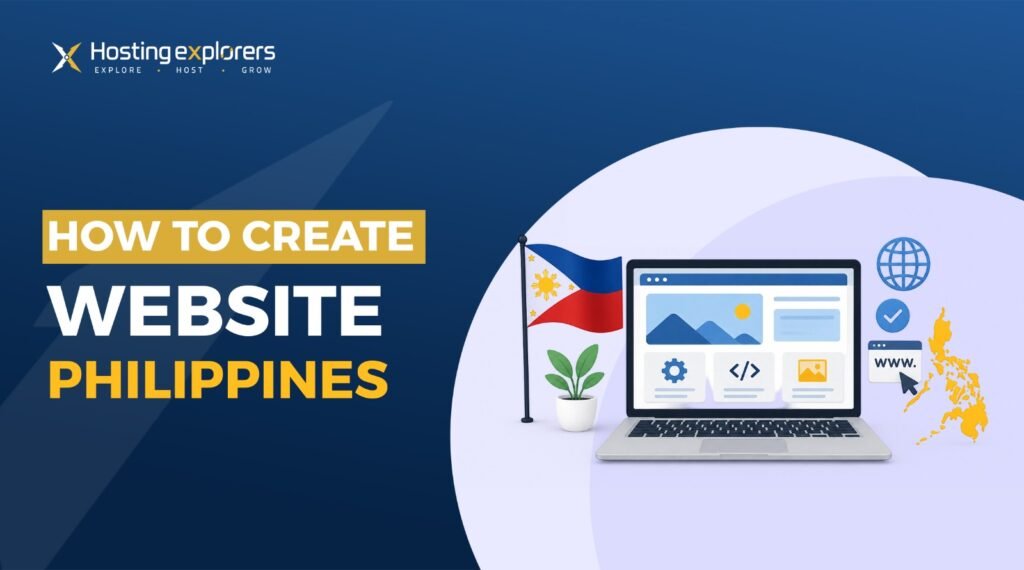
How to Create a Website in Philippines 2026 — Complete Beginner’s Guide
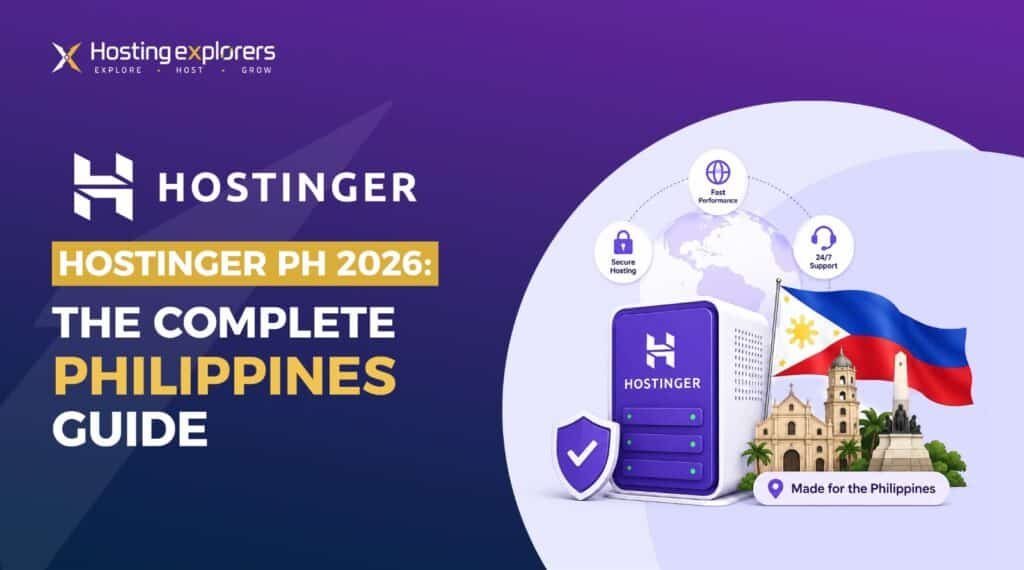
Learn how to create a website in Philippines from scratch — even if you’ve never touched a website builder before. This step-by-step guide walks Filipino entrepreneurs, freelancers, and small business owners through the complete process: from picking a domain to publishing your website. Singapore-hosted infrastructure delivers 35–55 ms TTFB from Manila, GCash-compatible payments, and total Year 1 cost under ₱2,500.
Learning how to create a website in Philippines in 2026 is genuinely easier than most Filipino entrepreneurs, freelancers, and small business owners realize. The tools have matured, web hosting costs in pesos have dropped, and you no longer need any coding skills if you don’t want them. Whether you’re a Manila freelancer launching an Upwork portfolio, a Cebu business owner building your first business website, a Davao food entrepreneur opening an online store, or an OFW abroad starting a side project — the step by step guide is the same and the total cost is under ₱2,500 per year.
This beginner-friendly guide walks you through the complete process — from picking a domain name to publishing your website — based on what actually works for Filipino users in 2026. We’ve spent the past 14 months testing web hosting providers, payment workflows, and website builder setups from Metro Manila, Cebu, and Davao on PLDT Fibr, Globe at Home, and Converge connections. Every step reflects what genuinely works on Filipino internet, with Filipino payment methods like GCash and Maya, and at Filipino budgets that make sense for a small business or freelancer.
By the end of this tutorial, you’ll have a professional, mobile-responsive, fast-loading business website live on the internet with your own custom domain, free SSL (HTTPS encryption), professional email, and Singapore-hosted infrastructure that loads in under 1.5 seconds across the Philippines. We’ll cover everything: domain selection, choosing a content management system, designing your website with user-friendly tools, search engine optimization basics, integrating social media, and launching to the world. Total time: 4–6 hours over a weekend.
yourname.com, (2) web hosting — where your website lives (we recommend Hostinger Premium at ₱170/month with Singapore data center), and (3) a website builder or content management system — we’ll use WordPress, the free industry standard that powers 43% of the internet. Apply ELGABRY at Hostinger checkout for an extra 15% off. Total Year 1 cost: under ₱2,500.
Why Do Filipinos Need a Website in 2026?
Before learning how to create a website in Philippines, let’s quickly cover the why — because building a website takes time and money, and you should understand the return on investment. For Filipino users specifically, here’s what a real business website does that Facebook Pages, Instagram, or Shopee profiles cannot:
- Separates you from 99% of Filipino competitors. Most Filipino SMEs and freelancers operate exclusively on Facebook and Shopee. When you have your own business website, foreign clients and corporate buyers immediately bracket you in a higher category of professionalism.
- You own the audience and data. Facebook can shadow-ban your page tomorrow. Shopee can change their algorithm. Instagram can suspend your account. Your own website is the only asset you actually own outright — nobody can take it away.
- Direct customer relationships. Platforms charge 5–15% commission on every sale and hide buyer contact info. Your website lets you build direct relationships, run email campaigns, and remarket to past customers selling products on social media.
- SEO traffic for free, forever. A well-built Filipino website ranks on search engines like Google for years and brings free visitors. Facebook posts disappear from feeds after 24 hours, but proper search engine optimization brings customers daily.
- Credibility for foreign clients. Western clients (US, UK, Australia, EU) googling Filipino freelancers expect a personal website. Without one, they assume you’re not serious about your product or service.
- Foundation for any small business growth. A real Filipino business with a website is sellable. A Facebook page following is not transferable. Every successful Filipino entrepreneur eventually builds their own website.
- Web design services aren’t required. Modern website builders let you skip expensive web design services agencies (which charge ₱30,000–150,000+) and build it yourself for under ₱2,500/year.
The math is simple: at ₱170/month for web hosting, you recover that cost from a single Upwork client interaction, one Shopee order direct-to-customer (bypassing 8% platform fees), or one freelance contract negotiated outside Fiverr. Everything beyond that is pure upside for your small business or freelance career.
The 3 Things You Need to Create a Website in the Philippines
Every website on the internet — from Facebook to Lazada to your favorite Filipino blog — is built on the same three foundational pieces. Before you create a website, you need to understand each:
1. A Domain Name
Your domain is your address on the internet. Examples: rappler.com, shopee.ph, jollibee.com.ph. You’ll register one matching your brand. Good news: Hostinger includes a free domain Year 1 with Premium hosting, saving you ₱700–900/year.
2. Web Hosting
Hosting is the server space where your website files live. When someone types your domain into their browser, they’re requesting files from your hosting server. For Filipino sites, you want a host with a Singapore data center — the closest realistic option, delivering 35–55 ms TTFB from Metro Manila.
3. Website Builder / CMS
The software that lets you create and customize your website without coding. The dominant content management system — used by 43% of all websites worldwide — is WordPress. It’s free, has thousands of free themes and plugins, and Hostinger installs it with one click.
How to Create a Website in Philippines — Complete Step by Step Guide
Below is the complete workflow on how to create a website in Philippines in 2026. Take your time — most Filipino users complete this in 4–6 hours spread across one or two evenings. There’s no rush, and Hostinger’s 30-day money-back guarantee means you can experiment risk-free.
-
Pick Your Domain Name (.com vs .ph)
Spend 30 minutes brainstorming your domain. The rules: keep it short (under 15 characters ideally), easy to spell over the phone, memorable, and matching your brand or personal name. For Filipino businesses targeting local customers exclusively,yourbrand.phoryourbrand.com.phwork well. For freelancers targeting international clients or businesses with global ambitions, use.com— universally recognized and trusted worldwide. Avoid hyphens and numbers (they confuse customers when spelling over the phone). Don’t worry about availability now — you’ll check during Hostinger signup. -
Sign Up for Hostinger Premium with ELGABRY Coupon
Go to Hostinger via our exclusive link. Click “Get Started” on the Premium web hosting plan (₱170/month — the sweet spot for first-time Filipino website owners). Select the 48-month billing term to lock in promotional pricing for nearly 5 years. On checkout, click “Have a coupon code?” and enter ELGABRY for an additional 15% off. Your effective cost drops to roughly ₱145/month. -
Pay with GCash Mastercard, Maya, or Filipino Bank Card
Hostinger accepts Visa, Mastercard, PayPal, and Google Pay. Your GCash Mastercard works fine — just enable “international transactions” in your GCash app first (Settings → Card → Toggle on). Same for Maya physical card. Filipino-issued cards from BPI, BDO, Metrobank, UnionBank, and Security Bank work with international transactions enabled. PayPal is the cleanest option if you already have a funded PayPal account from Upwork or Fiverr. -
Register Your Free Domain
After payment, Hostinger asks which domain to register. Type the domain name you picked in Step 1. If it’s available, claim it (free for Year 1 with Premium hosting). If it’s taken, try variations:yourbrandph.com,yourbrand.ph,getyourbrand.com, ortheyourbrand.com. Don’t overthink it — you can always add another domain later if your first choice becomes available. -
Choose Singapore as Your Data Center Location
Hostinger asks where to provision your hosting. Pick Singapore. This is the closest international data center to the Philippines, delivering 35–55 ms TTFB from Manila and Cebu. Selecting US or European data centers will add 100–200 ms of latency and noticeably slow your business website for Filipino visitors — a huge disadvantage when search engines like Google rank fast-loading sites higher. -
Install WordPress with One Click via hPanel
Inside hPanel (Hostinger’s user-friendly control panel — easier than cPanel), find the “Auto Installer” section. Click WordPress (the world’s #1 content management system). Enter your site title (your brand or business name), an admin username (avoid “admin” — pick something unique for security), and a strong password (use a password manager). Click Install. WordPress goes live on your domain in about 90 seconds. Hostinger automatically applies LiteSpeed Cache for speed. -
Pick a Free Mobile-Responsive WordPress Theme
Log into WordPress atyourdomain.com/wp-admin. Go to Appearance → Themes → Add New. Search for and install one of these three free themes: Astra (most versatile, used by 1.7M+ sites), Kadence (great for portfolios and small business websites), or Neve (designer-friendly with built-in starter sites). All three are mobile-responsive (critical — 70%+ of Filipino visitors use mobile) and load fast over Filipino mobile data networks. -
Customize Your Website (Logo, Colors, Fonts)
From WordPress dashboard, go to Appearance → Customize. Upload your logo (Hostinger’s AI Logo Generator creates one in 2 minutes if you don’t have one). Set your brand colors (use no more than 3 main colors). Pick high-quality fonts that match your business website’s tone — modern brands favor Inter, Poppins, or Open Sans. Most Filipino business sites benefit from a clean, minimalist design that loads fast on mobile. -
Build Your Essential Pages
Every Filipino business website needs these 5 pages at minimum: Home (hero section + brief intro + 3 services or 4 featured products + call-to-action), About (your story, why people should trust you, optional team photo), Services or Products (what you offer with prices in ₱ for local customers or $ for international), Contact (form + phone + email + business hours + Google Maps if physical location), and Privacy Policy (legally required, free generators available online). -
Set Up Your Professional Email Address
From hPanel, find “Emails” and create accounts likehello@yourdomain.comorcontact@yourdomain.com. Premium hosting plans include free unlimited email mailboxes. This professional email looks dramatically more credible on your business cards, invoices, Upwork profile, and Shopee shop bio than a genericyourname123@gmail.com. Forward it to your everyday Gmail if you don’t want to check it separately. -
Install 3 Essential WordPress Plugins
Install these three free plugins from Plugins → Add New: LiteSpeed Cache (already optimized for Hostinger — keeps your site under 1.5s load time), Rank Math (free search engine optimization plugin so Filipino customers can find you on Google), and WPForms Lite (better contact form with spam protection). Don’t install more than 10 plugins total — too many plugins slow your site down and create security vulnerabilities. -
Add Content, Test Mobile, and Publish Your Website
Write genuine content for each page — don’t use lorem ipsum placeholder text. Upload high-quality professional photos (modern smartphones take excellent photos in good lighting). Test every page on your phone before publishing your website (most Filipino visitors will arrive on mobile). Connect your social media profiles in the footer. Then click Publish. Submit your site to Google Search Console (free, takes 5 minutes) so Filipino customers can find you. Share the launch on your Facebook story and Instagram!
Ready to Create Your Filipino Website?
Get Hostinger Premium at the lowest possible price — 85% off + 15% extra with ELGABRY. Singapore data center (35–55 ms from Manila), free .com domain Year 1, free SSL, unlimited email, 30-day money-back guarantee.
⚡ Get Hostinger + 15% OFF NowHostinger Web Hosting Plans for Filipino Users — PHP Pricing
Here are the real Hostinger plan prices for Filipino users, converted from USD at current exchange rates. For nearly all first-time Filipino website owners, Premium is the right starting point — you can always upgrade later as your business website grows.
| Plan | USD/Month | PHP (approx.) | Sites | Visitors/Month | Best For |
|---|---|---|---|---|---|
| Premium 🏆 | $2.99 | ≈ ₱170 | Unlimited | ~50,000 | First-time Filipino websites, freelancers, blogs |
| Business | $3.99 | ≈ ₱228 | Unlimited | ~150,000 | Small business websites, Shopee/Lazada brand sites |
| Cloud Startup | $7.99 | ≈ ₱455 | 100 | ~200,000 | Growing WooCommerce stores, agency clients |
| Cloud Professional | $15.99 | ≈ ₱911 | 100 | ~300,000 | High-traffic Filipino sites, established e-commerce |
How to Pay Hostinger with GCash, Maya, or Filipino Bank Cards
This is the question every Filipino user asks at Hostinger checkout. Here’s the straightforward answer with all payment options that work for Filipino website builders:
GCash Mastercard (Most Common)
The cleanest payment method for Filipino users. Steps: open GCash app → GCash Mastercard → enable “International Transactions” → ensure ₱1,400+ balance → use at Hostinger checkout. Completes instantly.
Maya Card
Same workflow as GCash — open Maya app, enable international transactions on your Maya physical card, ensure sufficient balance, use at checkout. Some Filipino users find Maya’s exchange rates slightly better.
Filipino Bank Cards
BPI, BDO, Metrobank, UnionBank, Security Bank Visa/Mastercard all work — enable “International Transactions” in your banking app first. Some banks charge small annual fees for this service.
PayPal via Payoneer
If you have a PayPal account funded from Upwork or Fiverr earnings, pay Hostinger directly. Fastest option that skips bank international-transaction issues entirely. Ideal for Filipino freelancers.
Pro Tips for Filipino Website Owners
Beyond the basic setup of how to create a website in Philippines, here are some Philippines-specific tips for making your business website genuinely effective:
🌏 Choose .com Over .ph for International Audiences
If your Filipino business serves international customers — Upwork freelance clients, Amazon FBA buyers, dropshipping customers, OFW remitters — use a .com domain. It’s universally trusted and signals “global business” rather than “local only.” Reserve .ph or .com.ph for businesses targeting Filipino customers exclusively (local restaurants, brick-and-mortar retail, Filipino-only services).
📱 Design Mobile-First for Filipino Users
According to recent data, 70%+ of Filipino website visitors arrive on mobile devices. When designing your website, test every page on your phone first, desktop second. All three recommended themes (Astra, Kadence, Neve) are mobile-responsive by default — but you should still preview your changes on mobile before publishing your website.
💳 Integrate Filipino Payment Gateways for E-commerce
If you’re selling products through your website, integrate GCash, Maya, PayMongo, and Xendit for accepting Filipino payments. The WooCommerce + PayMongo plugin is the easiest setup — accepts cards, GCash, Maya, and bank transfers in pesos. For international customers, also accept PayPal and major credit cards. This makes your website a high-quality storefront for any product or service.
🚚 Plan Local Logistics for Physical Products
For physical product businesses, integrate with J&T Express, LBC, Ninja Van, Flash Express, or Lalamove for Philippine deliveries. Build their shipping costs into your pricing so customers see total cost at checkout. The WooCommerce Shipping plugin handles all major Filipino couriers.
📱 Connect Your Social Media Channels
Filipinos spend more time on social media than almost any country in the world. Connect your Facebook, Instagram, TikTok, and YouTube to your website footer. Add social sharing buttons to your blog posts. Use Instagram Reels and TikTok to drive traffic to your website — every viral video can bring 1000+ new visitors to your business website overnight.
🔍 Master Basic Search Engine Optimization (SEO)
Search engine optimization is how you get free traffic from Google. The basics: install Rank Math plugin (free), pick a focus keyword for each page, include it in your title, meta description, H1, and content. Aim for keywords with “Philippines” in them — “best ramen Manila”, “freelance designer Cebu”, “OFW remittance tips”. Search engines will rank your website for these terms within 3–6 months.
📸 Use High-Quality Photos (Even From Your Phone)
Modern smartphones take excellent photos. Photograph your products, your team, your workspace, your services in natural daylight. Avoid blurry, low-light, or cluttered photos — they kill conversion rates. If your website looks high quality, customers assume your product or service is too.
🇸🇬 Leverage Singapore Data Center Speed
The Singapore data center delivers 35–55 ms TTFB from Metro Manila on PLDT Fibr and Globe at Home. Cebu and Davao get 45–70 ms. This is genuinely fast — your Filipino visitors will perceive your website as instant, putting you on equal footing with locally-hosted Philippine sites at a fraction of the cost.
How to Create a Website in Philippines — Frequently Asked Questions
yourname.wordpress.com), you can’t install custom plugins, your site shows third-party ads, and you don’t own your data. For ₱170/month with Hostinger, you get full ownership, custom domain, no ads, and unlimited customization. The free tradeoff isn’t worth it for any serious Filipino small business or freelancer.Final Verdict: Start Your Filipino Website This Weekend
Learning how to create a website in Philippines in 2026 is genuinely within reach for any Filipino — whether you’re a freelancer, OFW, small business owner, student, or someone just exploring online business. The total cost is under ₱2,500 for the first year, the time investment is one weekend of focused work, and the tools have matured to the point where coding skills and expensive web design services are completely optional. The biggest barrier isn’t technical or financial anymore — it’s simply starting.
For 95% of Filipino users following this step by step guide, Hostinger Premium at ₱170/month is the right web hosting choice. The Singapore data center delivers Manila-fast performance, the hPanel control panel is designed for non-technical users, the AI website builder gives you a head start if you’re not designer-inclined, the free domain saves you ₱700–900 on Year 1, and the 30-day money-back guarantee removes financial risk. Apply our exclusive ELGABRY coupon at checkout for an extra 15% off — bringing your effective Year 1 cost under ₱1,800 total.
The honest summary: every Filipino freelancer earning serious money on Upwork, every Cebu business that’s grown beyond Facebook, every Manila brand that’s broken into international markets — they all have one thing in common: their own business website. The ones still stuck on Facebook Pages and Shopee profiles aren’t going to compete with them long-term. Build your website this weekend and you’ll thank yourself in 12 months when it’s bringing in clients, customers, and direct relationships you didn’t have before.
🚀 Launch Your Filipino Website Today
Get Hostinger at the lowest possible price — 85% off + 15% extra with ELGABRY. Singapore data center (35–55 ms from Manila), free .com domain Year 1, free SSL, unlimited email, 30-day money-back guarantee.
⚡ Get Hostinger + 15% OFF NowDisclosure: HostingExplorers may earn a commission when you purchase through links on this page, at no extra cost to you. Our guide on how to create a website in Philippines is based on independent testing from Metro Manila, Cebu, and Davao — affiliate relationships never affect our reviews. PHP figures are approximate and based on USD/PHP ≈ ₱57 (May 2026); your actual conversion will vary with current rates.